Water Crossing Safety Tips
For Hikers And Backpackers
By Diane Spicer
If you haven't needed water crossing safety tips yet on your hiking adventures, you will.
The day will come when you're faced with a fateful decision:
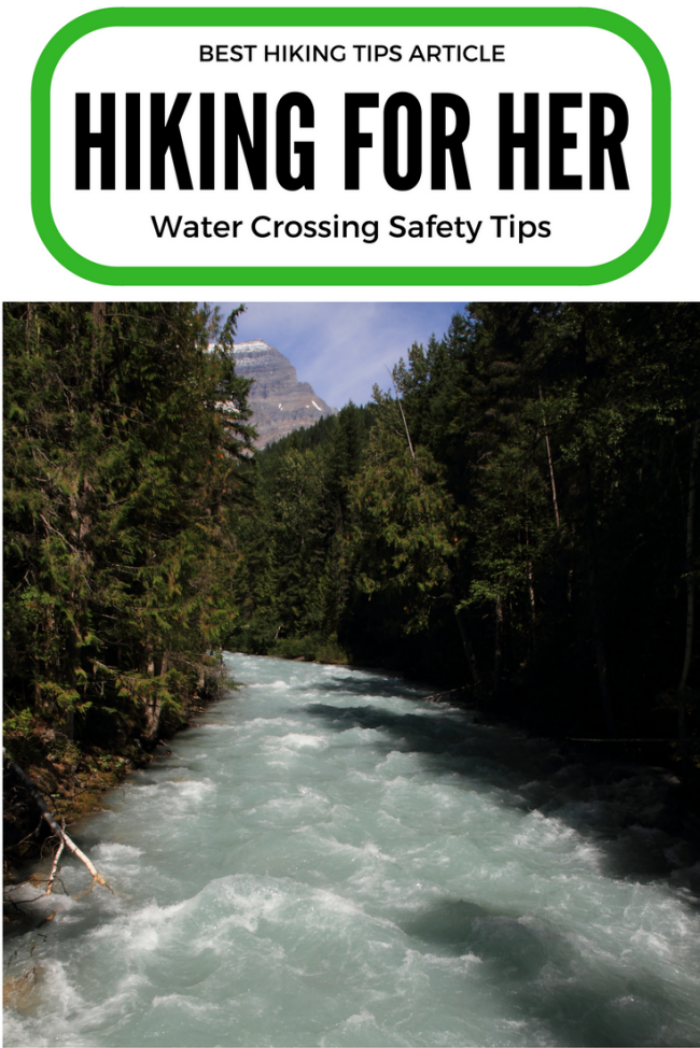
- Try to ford a wide river or swiftly flowing stream, or turn back?
- Rock hop across raging melt water, or sit down and soak your feet?
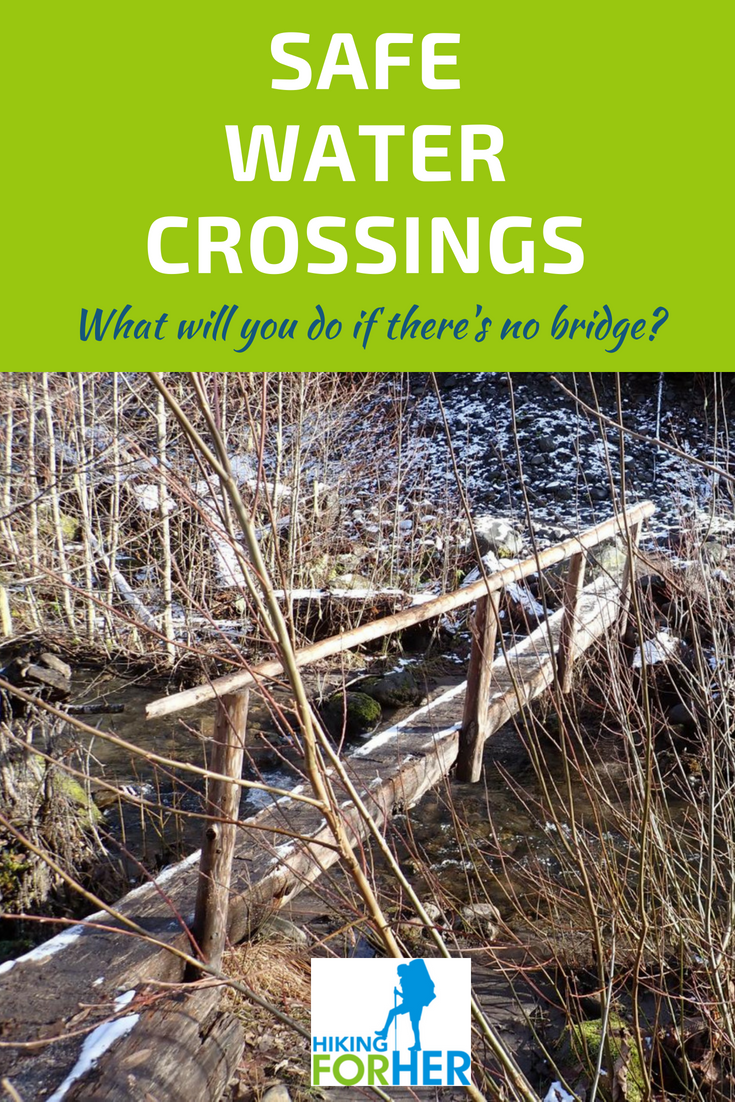
- Trust a slimy log, or not?
- Wade into water when you can't see the bottom?
The sentence that always come into my mind when I'm faced with these scenarios:
"Is this crossing worth the risk?"
Here are some water crossing safety tips in advance, so you'll have the knowledge you need to make a smart decision when that sentence pops into your head.
Things to think about before reading these
water crossing safety tips
Before you read the safety tips for how to ford a river or safely cross a fast moving creek, think about why you need to do this.
To get the other side, right?
Duh!
But the question is a bit more basic:
Why are you on a trail that requires you to cross moving water on foot?
If you deliberately chose the trail and are comfortable with how to ford rivers, no problem.
If you're in the backcountry, of course there will be no bridges and you're mentally prepared for a water crossing.
But if you're unprepared, and in fact surprised by the necessity of a river crossing, what's that about?
Possibilities
What went wrong?
- Didn't look at a map ahead of time
- Assumed that all crossings would have bridges
- Caught off guard by recent severe weather events that washed out a bridge or doubled the water flow
- Trapped on the other side, due to a predicted cloud burst - but didn't read the weather forecast
- Made assumptions about the reliability of the map you're using, even though it's ten years out of date
Etcetera...
This is not to shame or blame you, just to get you thinking about how important it is to consult current maps and cross reference them with up to date information available on line.
Also
note that water crossings are right up there on the danger scale with
grizzly bears and getting caught in a lightning storm.
"I was over prepared", said no hiker, ever.
Now on to the safety tips.
The most important water crossing safety tips to remember
If the trail you're on dumps you unceremoniously at water's edge, and you can see the trail resume on the other side of the water crossing, you're in better shape than if you have to scout for a place to ford a river.
Why?
Because if you can see the trail on the other side, you can also see how deep the water is, how fast it's moving, and what the bottom might be like: rocks, logs, deep holes, etc.
But don't automatically assume this is your crossing point.
General tips for sizing up a river crossing as a hiker
Look, really look at the water in front of you at the spot you intend to use as a crossing.
Then scan upstream and downstream in order to gather some important data.
Don't let your anxiety push you into a fast decision. Ditto for your "schedule".
Data to gather in an unhurried manner:
- Can you see the bottom?
- Is there debris like tree limbs flowing past you from upstream?
- How fast is the water moving?
- Can you estimate approximately how long you might have to be in the water, given how far the other bank is?
Safe water crossing Tip #1
The first safety tip involves assessing your situation and deciding on a course of action.
Solo hikers need to approach water crossings differently than a duo, or a group of hikers, so be sure to read the safety tips for fording moving water for solo -vs- group hikers.
A tall hiker can navigate hip deep water that would overwhelm a shorter or less able hiker.
- For now, let's stay general.
To assess how deep and fast the water is, find a rock and chuck it into the water.
Listen: a deep "plop" means deep water. A "clunk" means there are big rocks to contend with underneath the flow of water.
If you can see the bottom, did the rock move quickly downstream? Fast water! Too fast, maybe.
Can't see the bottom due to muddy or milky (glacial till) water?
- Throw a stick.
- Imagine it's you.
- How far downstream did it travel in 10 seconds?
Also listen for the sound of rocks rolling against each other in the water. Those rocks will roll against your ankles, knocking you off balance or trapping your feet.
Use your eyes to scout what's on the far bank.
- You don't want to crawl out of the water into something spiky, poisonous, steep or impenetrable, right?
- Is the bank too steep to pull yourself up out of the water? Are there convenient bushes that might help?
Another thing to scout:
Are there any side trails branching from the main trail, indicating a safer crossing that other hikers have used successfully in the past?
- Boot prints, haphazard rocks thrown in to try to make crossing easier, impromptu log bridges, broken branches, or a beaten down path on the other side are clues.
Safe water crossing Tip #2
Here's the second most important safety tip:
Don't let your brain talk your body into an unsafe water crossing.
- Give up emotional attachments to getting to the other side, to pressing on, to seeing what's ahead, to making those extra miles.
Be rational, be focused, be smart:
Scout the river or creek bank and find the widest (most shallow) or slowest spot to cross.
- If your gut is feeling fear because the water is racing past or you can't see the bottom, use that as a sign that it's too dangerous to cross safely at that spot.
Whatever is on the other side of that fast water will be there next time, or when you return in a season with low water levels.
Another option: Camp on the river bank and wait for the water level to drop if you've had recent storms or know the river is fed by a glacier.
Really curious?
- Use Google Earth to see what you missed, once you're safely back home.
Safe water crossing Tip #3
If you're faced with a wide water crossing that involves logs or rocks or branches which seem like they could be used to help you across, know these important facts before you risk yourself:
- A log fallen across moving water is subject to the rising and falling water levels, so it may be unstable, rotted, or covered with slime.
- Rocks that look dry may in fact have a coating of slippery biomass. Wet rocks will be slippery, that's for certain.
- It's hard to assess whether slender branches or tree limbs will hold your weight.
In other words, don't assume that these natural objects are on your side.
A few water crossing safety tips for this situation:
If you aren't using trekking poles, get yourself a sturdy stick you can use for balance as you cross.
If you do have poles, be sure they are locked and ready to support your body weight in case you lose your balance.
Scout the downstream area as much as possible, to choose a spot you will head to in case you fall in.
- You don't want to be sucked down next to big rocks, and must avoid entanglement in tree limbs and branches that are partially submerged.
Be prepared to fall into the water: backpack hip belt unbuckled, loose shoulder straps, eyeglasses secured on a cord on your face, a relaxed body posture if you slip.
Water crossing safety Tip #4
If you decide to attempt the crossing, here's the fourth tip:
Leave your boots on.
You need the traction, protection, and the extra weight created by water filled boots.
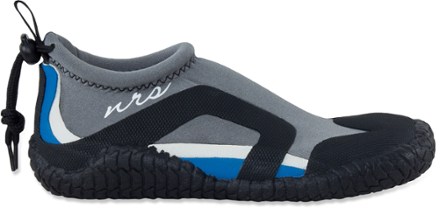
- Ignore this advice and don your sturdy water shoes (good traction, holes on top and sides to allow water drainage) if you knew ahead of time that you would face this river crossing.
- If you hike in low or mid cut trail shoes, leave them on but realize your feet and ankles will be somewhat at risk from rolling rocks.
I use two different styles of water shoes, depending upon the type of water crossing I anticipate from my map due diligence and trail reports.
And the humble Croc, so lightweight and durable! Lash a pair to the outside of your backpack. And they can double as camp shoes.
Additional water crossing safety tips for hikers
Clothing is an important factor in a safe crossing.
Take off your pants, unless they're really lightweight and fast drying, or you have multiple stream crossings to make.
You could roll up your pant legs to keep them out of the water.
Or plan your hiking clothing around your water crossings:
- River shorts have drainage holes and are made of fast drying nylon.
- No river shorts? Do the sideways shuffle in your undies!
- Or consider hiking in skirts.
Unbuckle your pack, but leave it in place.
- Your body is more important than your pack, so be prepared to ditch the pack if you become submerged.
- It will quickly become dead weight as it fills with water, although you could use it short term as a flotation device in deep water.
Be prepared to use the swift current to your advantage if you lose your footing:
- Point your feet downstream, and assume a seated position so you can see and breathe. This also protects your head from impact with logs or boulders.
- Watch for slower water, and get over to the nearest bank quickly.
Now on to some specific water crossing safety tips for solo-ers and groups.
Water crossing safety tips for solo hikers
As a solo hiker, you have your two feet against the water's current.
Not exactly true, if you have trekking poles or a walking stick available, and that's a good thing.
In fact, a thick stick is preferable to skinny poles, because the chance of getting it lodged between rocks or submerged logs is less with a wider stick.
Make like a tripod
- Turn your body so it's facing upstream, with the water flowing past you. Lean into the current, getting a feel for its strength.
- Your pole/stick is ahead of you, planted upstream.
- Use a slight angle, no more than 45 degrees, downstream when you begin to move.
- Your river crossing mantra: Two points of contact at all times. That means two feet, or one foot and the pole, are in contact with the river bottom at all times.
- Lift the foot closest to the direction you're moving and take a step, relying on the rushing water to keep your other foot and the hiking pole/stick in place.
- Shuffle, without a lot of leg movement.
- Don't hurry, but don't linger because cold water will quickly numb you and make your steps less reliable.
- If you lose your nerve, decide which bank is closest and get there using your sideways shuffle.
Water crossing safety tips for deep water
If the water is above your knees, think twice about attempting this water crossing by yourself.
Go back to first principles: water crossing safety tips are useless if the water overwhelms you.
Taller hikers might get away with crossing short segments of thigh deep water, but any solo hiker should think long and hard about attempting to cross water that is waist deep or deeper.
- The more of your body in the water, the less balance and control you have as water rushes past you.
- Deep, fast water is impossible to scout for submerged logs, pockets of rocks that can trap your feet, or deep holes over your head.
- Deeper water = stronger current, unless it's a slow, shallow river with good visibility of the bottom.
- Cold water eats away at your strength with quick ferocity.
It might make sense to sit down and wait for another hiker or three to come along. Crossing together gives you a margin of safety.
You might have to be stern with yourself when thoughts about "losing time" and "burning daylight" kick in. Your safety comes first.
Warming back up after you get to the other side
Also think about how to warm yourself back up if you fall into the water.
Or if the water is so swift and deep that you're pretty much soaked by the time you get to the other side.
- Because most flowing surface water is shockingly cold when compared with your body temperature.
Things to ponder:
- Do you have your ten essentials? And will they be dry if you or your backpack falls in?
- Are your dry clothes in a handy spot in your backpack?
- Factor in the cost of a survival situation if you become hypothermic.
Your solo crossing options
- Wait for another hiker or hiking group to come along if you must make this water crossing. (see tips below)
- Wait overnight for the water level to go down, if recent rain or glacial melt is a factor.
- Consider all of the water crossing safety tips you know as you consult your map, looking for river forks or braids that may give you a better chance of slower water.
- Find an alternate route to your destination, using GPS and other navigational aids.
- Turn around and enjoy your hike back to the trail head. No harm done!
Water crossing safety tips for duos and group hikers
Safety in numbers, just like a herd of wildebeests, right?
Put that safety factor into play this way:
If there are two or three hikers in a group, decide who is the strongest/biggest/most stable against gravity person.
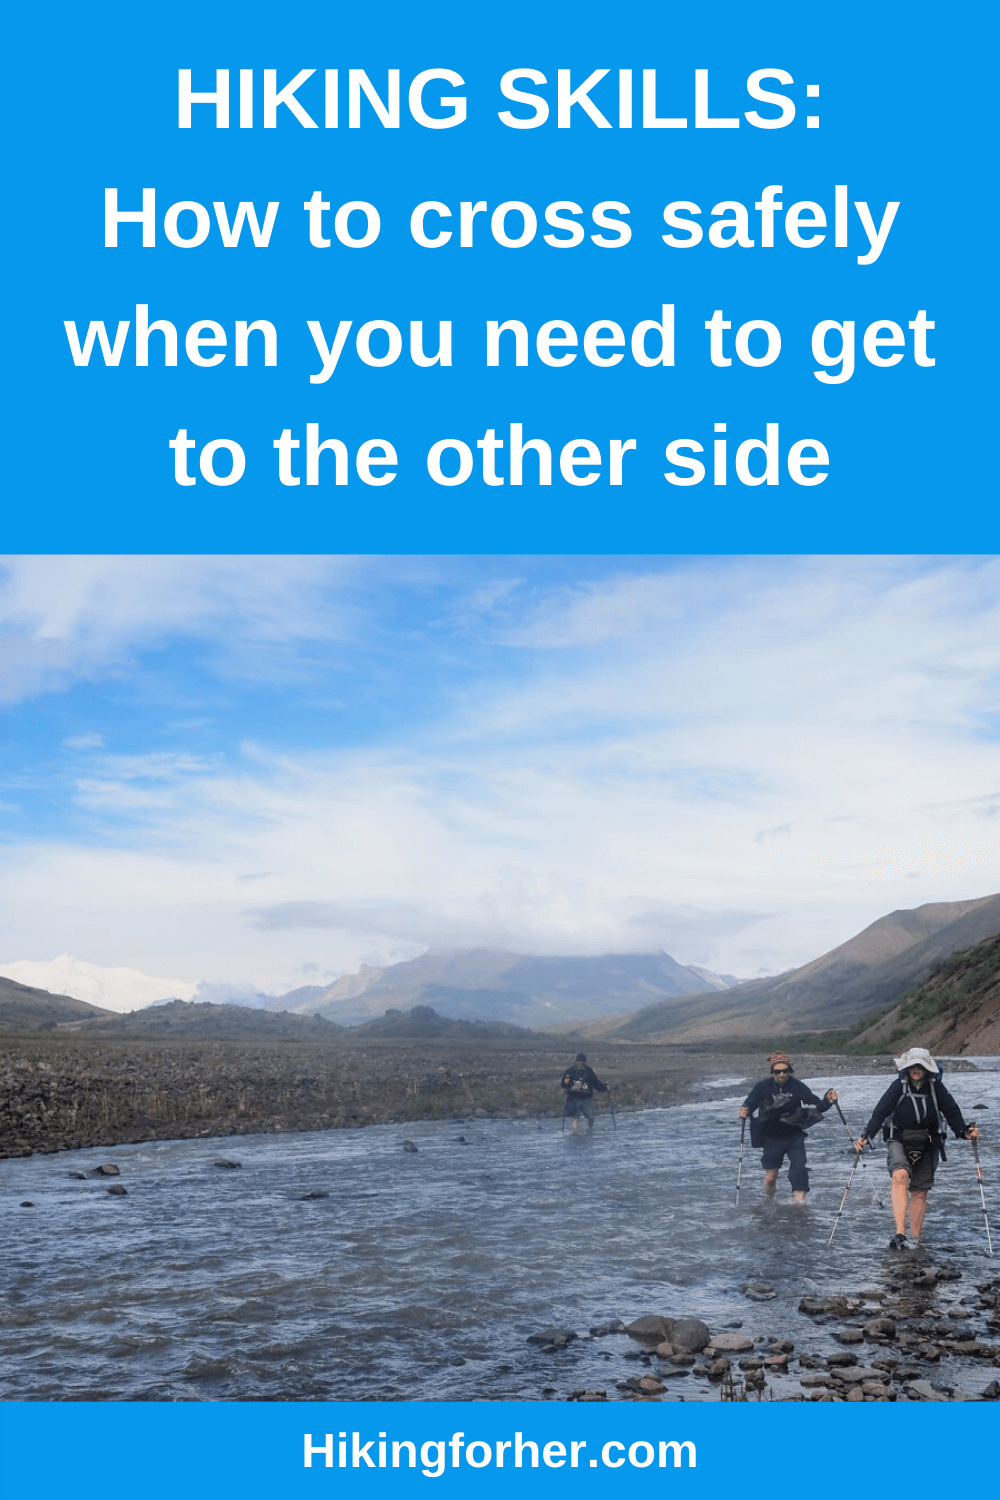
Put that hiker into the water, facing upstream with feet planted on the bottom and a stout stick in hand.
- Essentially, s/he's a tripod, as in our solo hiker approach above.
The tripod hiker is also breaking the current, creating a pocket (eddy) where the water is flowing less strongly for the hikers coming along behind.
As the other hikers step into the water, they hold the hip belt of the hiker in front of them, creating a chain of people who are in the less swift eddy created by Hiker #1.
- Put the smallest/least robust hiker at the end of the chain, where the water's current will be as slow as possible.
A side shuffle ensues, until everyone is across.
- Voice commands from Tripod Hiker can coordinate the shuffle, ensuring that everyone moves in unison.
Note that this method depends on a sturdy tripod person, right?
- If in doubt about anyone's ability to withstand cold, fast water, think very carefully about what would happen if someone were to slip and fall.
- Re-visit our initial question: why do you have to make this water crossing?
Large group advantages
For larger groups, there's an even more reliable way to ford a river.
Begin with the strongest hiker in the tripod position.
All other hikers get into the water behind her, and face the opposite bank, locking arms or each using their own heavy stick or pole.
Everyone except the side shuffling tripod hiker walks straight ahead in unison, creating an eddy effect which greatly benefits the smaller/weaker hikers downstream.
- If one hiker slips and falls, the others can assist her.
More detailed water crossing safety tips for you
To finish up our water crossing safety tips, read this detailed information from Washington Trails Association on how to ford a river.
Can you see that I'm trying to get you not only proficient, but confident about crossing moving water on a hike?
Practice makes perfect
I speak from experience when I say that practicing how to cross water before you really need to is the only way to go as a hiker.
In the heat of the moment or under adverse weather conditions, you're prone to making mistakes.
So re-read all of these water crossing safety tips, and then take any opportunity to cross moving water when the stakes are low:
- You're close to home,
- the weather is fair and mild,
- there is no time pressure,
- you have access to dry clothing,
- you have a clear picture in your mind of how to approach the water crossing,
- and you're confident that if you make a mistake you won't harm yourself.
C'mon! It'll be fun to find a slow moving, shallow stream or river and practice safe water crossings on a hot summer day.
There are multiple ways to safely cross a river or stream, so try all of the water crossing safety tips you just learned.
- Your knowledge will pay off when you're faced with needing to ford a river: on a multi-day backpacking loop trip, for instance.
- Or when you must make an unexpected solo crossing to go for help.
And pay it forward by teaching the next generation of hikers your water crossing safety tips!
If you're interested in what I wear when fording a stream or river, take a look at these links.
I recommend only what I wear, so purchasing through these links results in no extra cost to you while earning Hiking For Her a small commission to keep the best hiking tips freely (in every sense of the word) flowing :)
Home page > Best Hiking Tips >
Water Crossing Safety Tips
|
I get emails all the time about what I wear, eat, carry and love to use on the trail. That's
why I provide affiliate links to you: the best gear that I use myself and have seen used by other hikers is instantly
available for your consideration, and the gear company sends a few
pennies per dollar to this reader-supported hiking website. There is no added cost to you! Everyone ends up a winner: Great gear for you, strong gear companies, and more free hiking tips for everyone. Thanks very much for your support. It's warmly and sincerely appreciated. It also helps send these hiking tips to all your virtual trail buddies around the globe. |
 |
